TYPE R TROPHY BUILD – PART 4
Tegiwa Type R Trophy Build – Part 4
Since our last update a couple of weeks ago, we’ve handed the reins over to the lads at Motion Motorsport to take care of some of the bigger jobs that needed doing on our EP3.
Valve Clearances
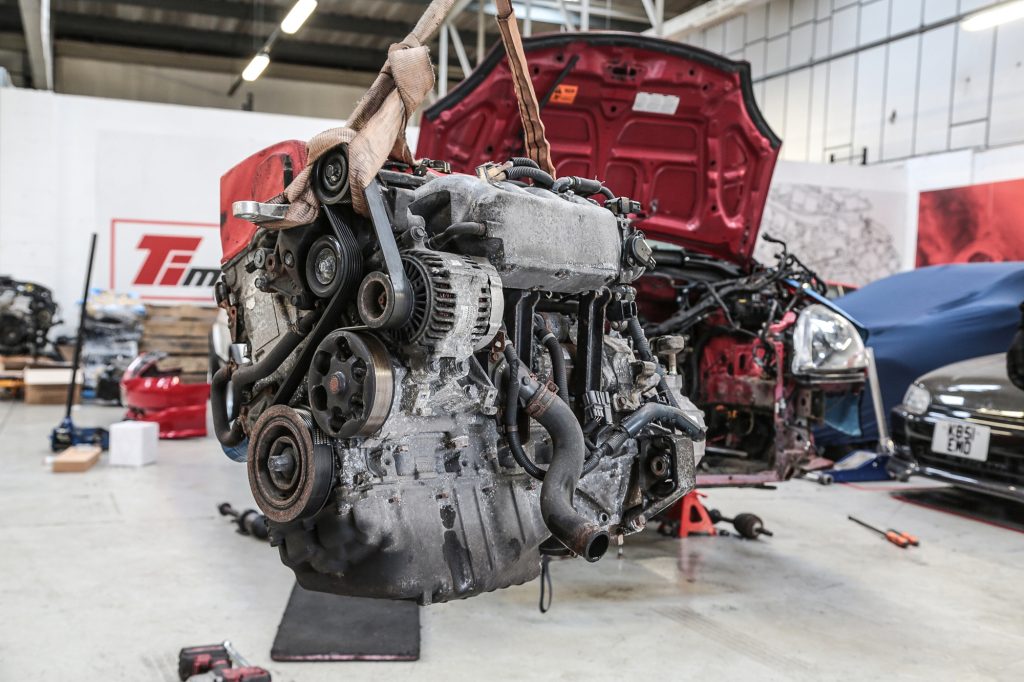
Jake, who makes up one third of Motion alongside Dave and James, quickly got to work on the car, starting by removing the K20 ready to have the gearbox removed and the all-important timing chain and tensioner replaced as well as the valve clearances being checked.
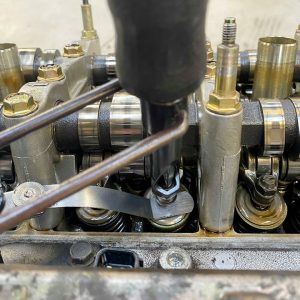
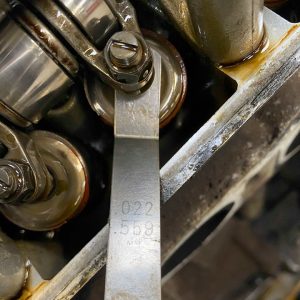
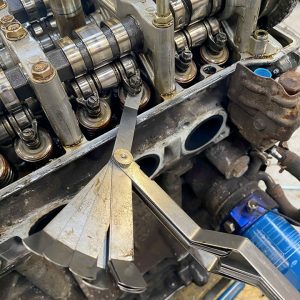
Speaking of valve clearances, Jake told us that he’s never seen valve clearances that have been this far out before! It made sense as we could hear a tapping noise on idle, so we suspected there was something untoward occurring. From factory the specs should be 0.08 for intake valves and 0.10 for exhaust valves, however, our exhaust valves were 0.22 and the intake valves were at 0.12. We can’t stress enough how important it is to get your valve clearances checked on these cars, especially if you’re noticing a rough idle or poor performance.
Gearbox
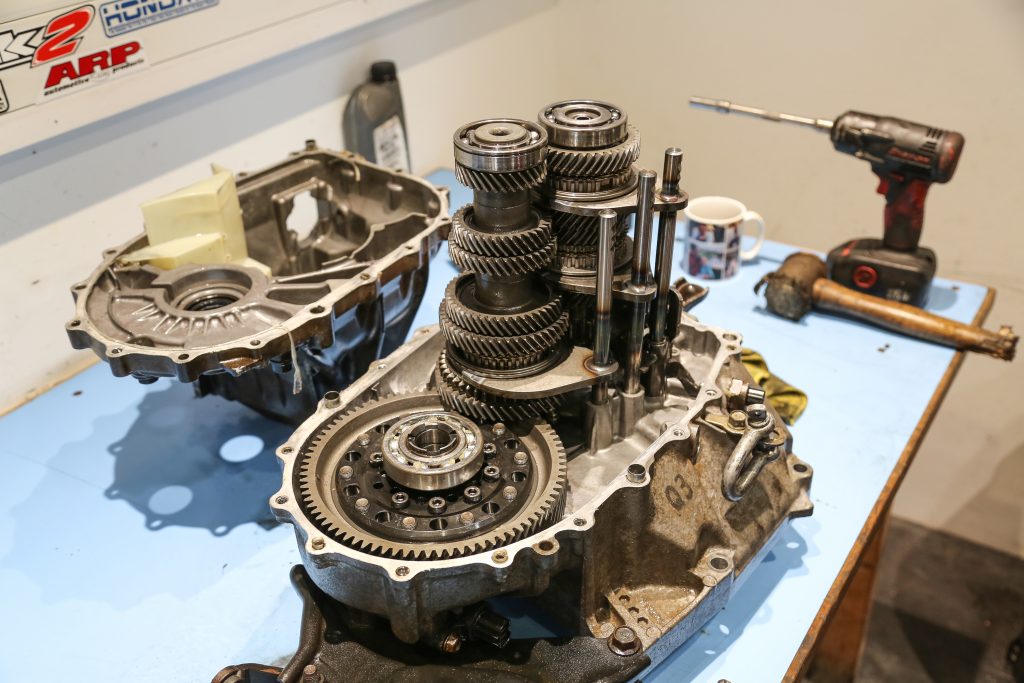
The gearbox then came out so that Dave was able to give it a thorough inspection to make sure everything was in order and working how it should be. However, upon closer inspection he advised that we should change the 3rd-4th gear sleeve and hub as the originals had signs of wear and that we should also replace the clutch too as it would have needed doing at a later date anyway.
With the vital components checked and replaced, it was time for the diff to make an appearance. In this case it’s a helical MFactory LSD that we’re using to replace the factory open diff. One of the advantages of running a helical differential over a plated one is that you can install it and never have to worry about touching it again as it doesn’t have plates inside it that wear out and need shimming or replacing over time. We also changed the bearings and used Genuine Honda MTF 3 transmission fluid.
Lubrication
The oil sump then came off for a Clockwise Motion drop-in sump baffle to be installed, which is a pretty vital part if you’re planning on tracking your car. Like the title says, it’s a drop-in part so requires no welding unlike some other baffles on the market. It’s designed so that the oil pickup line is always encased in oil and able to deliver oil around the engine, preventing oil starvation. The gates on the baffle close when you make a turn to stop all of the oil ending up in one corner of the sump and leaving no oil around the pick-up line.
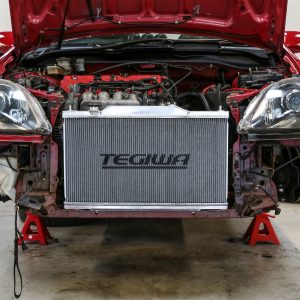
Whilst the car was in bits, we also decided to replace the OEM radiator for a Tegiwa aluminium rad. Not only is this unit noticeably lighter than the original part, it also cools the engine more efficiently too. We then replaced the engine oil with Motul 8100, replaced the oil filter and put in a fresh set of spark plugs too which should be one of the most essential things to do when taking your car on track. Jake had also noticed that our alternator housing had cracked, so we hunted down a second-hand unit to replace it with.
Geometry Setup
Motion then got the car on the ramp for a full track geometry setup to make sure we’re making the most out of our upgrades and we optimise as much grip as possible. Motion are one of the best in the business when it comes to setting your suspension up – Jake hasn’t earned the nickname of geo Jake for no reason! Seriously though, if you’re looking for a company to carry out work on your car, no matter how big or small make sure you drop them a message!
Away from the engine, Mike and I also put in our 6-point Raemco harnesses which we talked about in our last post.
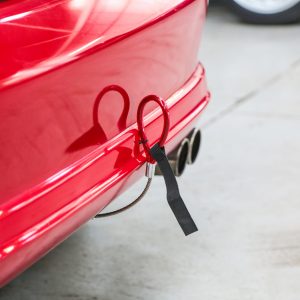
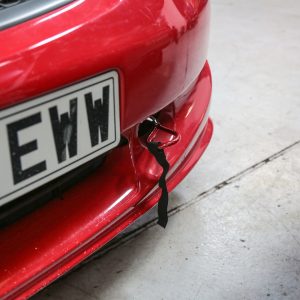
Finally, we installed a couple of Tegiwa FIA/MSA towing eyes on the car just in case we end up getting towed to safety at any of our outings. When we took the front bumper off we did notice this tow strap that had been installed previously, strapped to the wire of the horn…
All that’s left to do before we head to Oulton next Wednesday is to put our Tegiwa quick release bonnet pins on as we’ve taken the standard bonnet latch out. Then we’ll be ready to head out for some track day fun! We’ll let you know how it goes in our next update so make sure you stay tuned.
