Honda Civic FL5 – Ultimate Intake Test
Honda Civic FL5 – Ultimate Intake Test
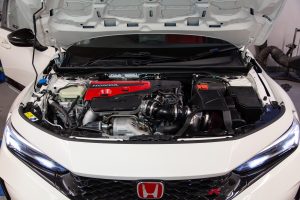
Ever since the FL5 was initially launched we wanted to replicate are popular GR Yaris Ultimate Intake test with this platform as soon as there was enough released to the market.
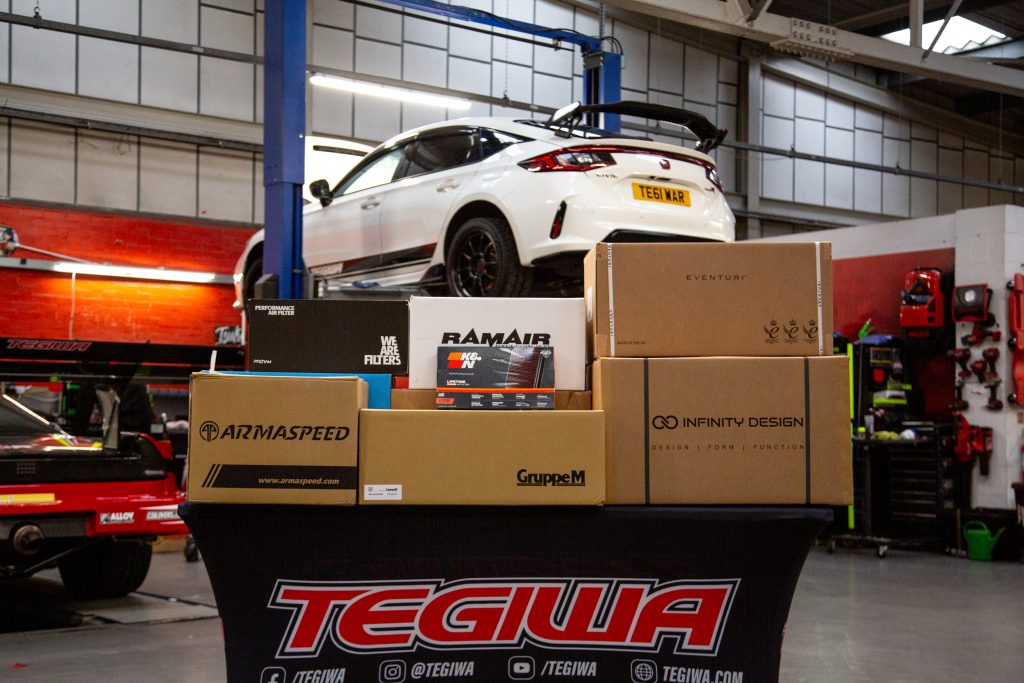
Now, it can be a hard decision choosing a new intake, with important factors to consider such as performance, acoustics, and aesthetics, all of which comes with different price tags. To help point you in the right direction, we’ve put together this awesome back-to-back test to compare 8 different intake options for your Civic FL5.
The test…
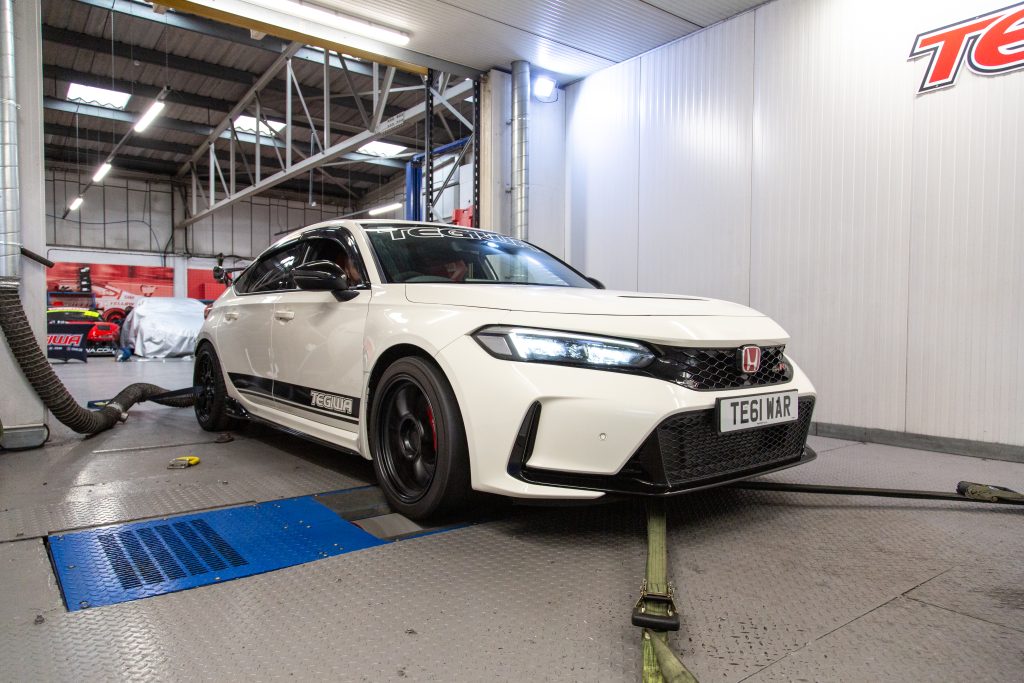
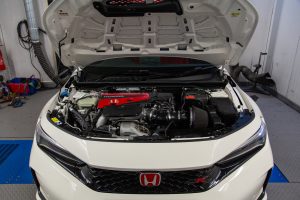
We’ve lined up a selection of industry leading intakes to fit to our car, which we’ll then run on our Ti Motorsport Maha MSR500 dyno to see if they increase power output. We’ll also make a note of the cost and any other findings that we came across.
The intakes…
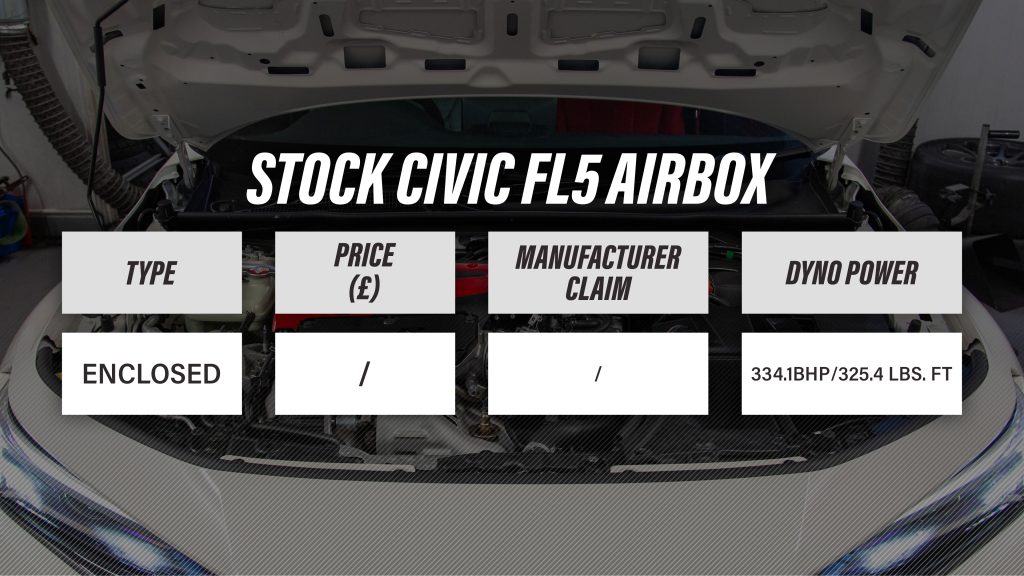
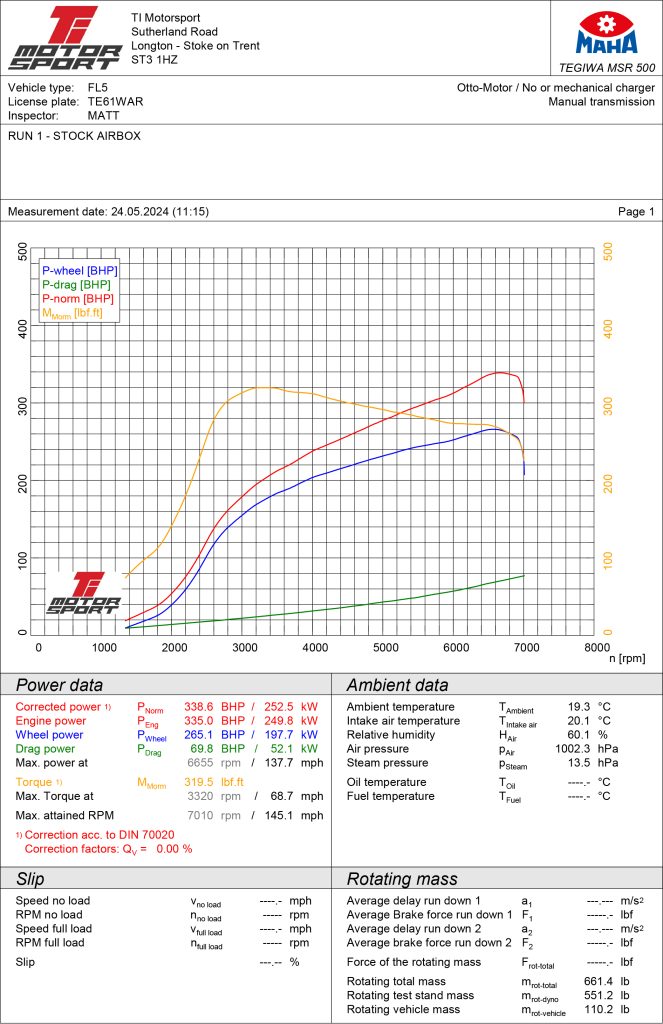
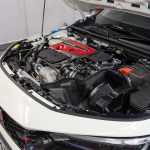
We started the test off by looking at the stock system that is fitted to the car from factory. Our FL5 that we are using to carry out the test is completely stock other than a Milltek Non-Resonated Exhaust. The stock system saw the car produce a healthy 334.1 horsepower with 325.4 lbs. ft torque.
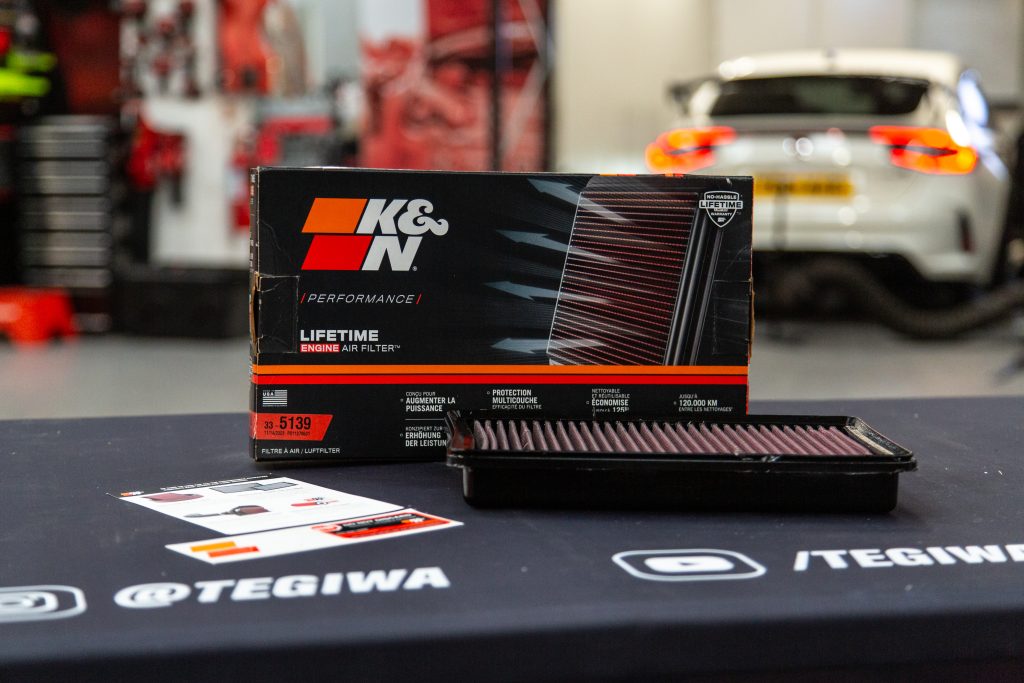
K&N Drop-in Panel Filter
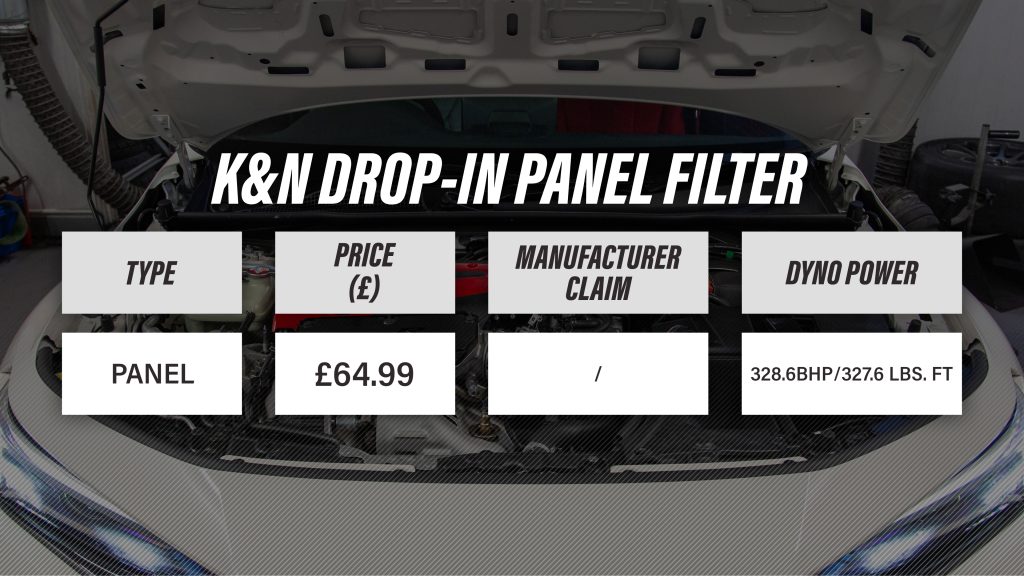
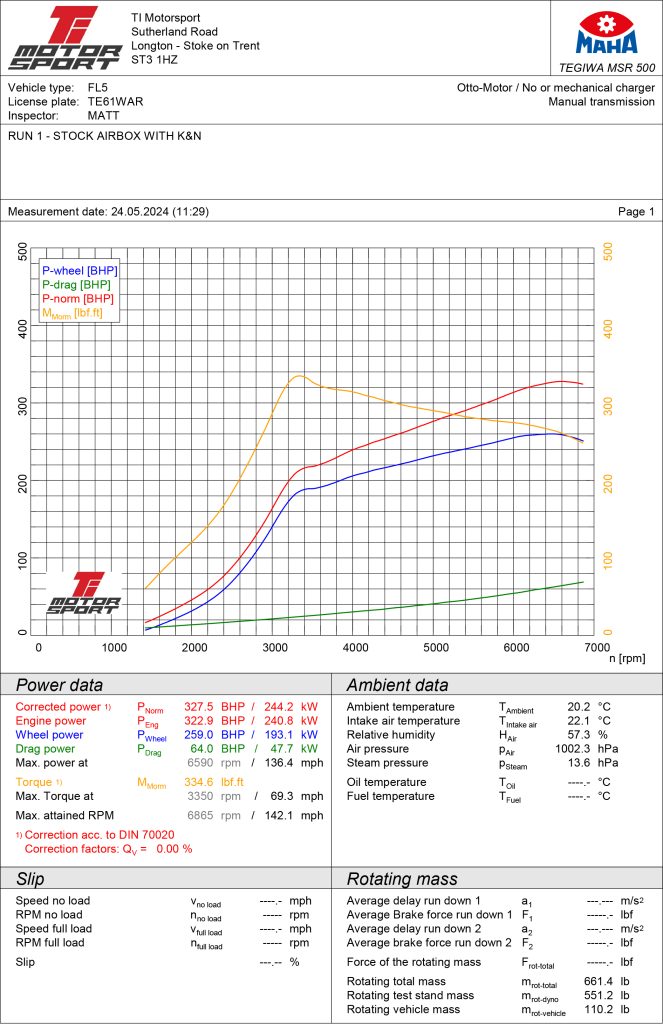
Our first test was a K&N panel filter. All that’s required for fitting is simply undoing the lid of the intake and dropping the filter in. These are a budget friendly filter and they can also be cleaned each year when it comes to servicing with a K&N recharger kit.
We found that this filter actually saw a loss in power but an increase in torque. However, intake temps had started to creep up slightly as the car hadn’t had much time to cool down since fitting the K&N panel filter.
Ramair Pro Ram
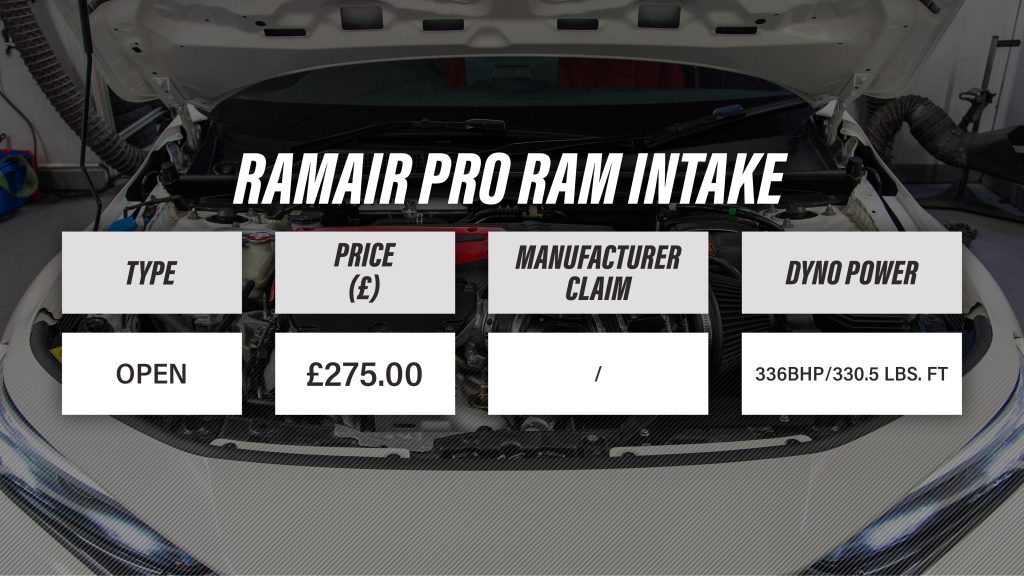
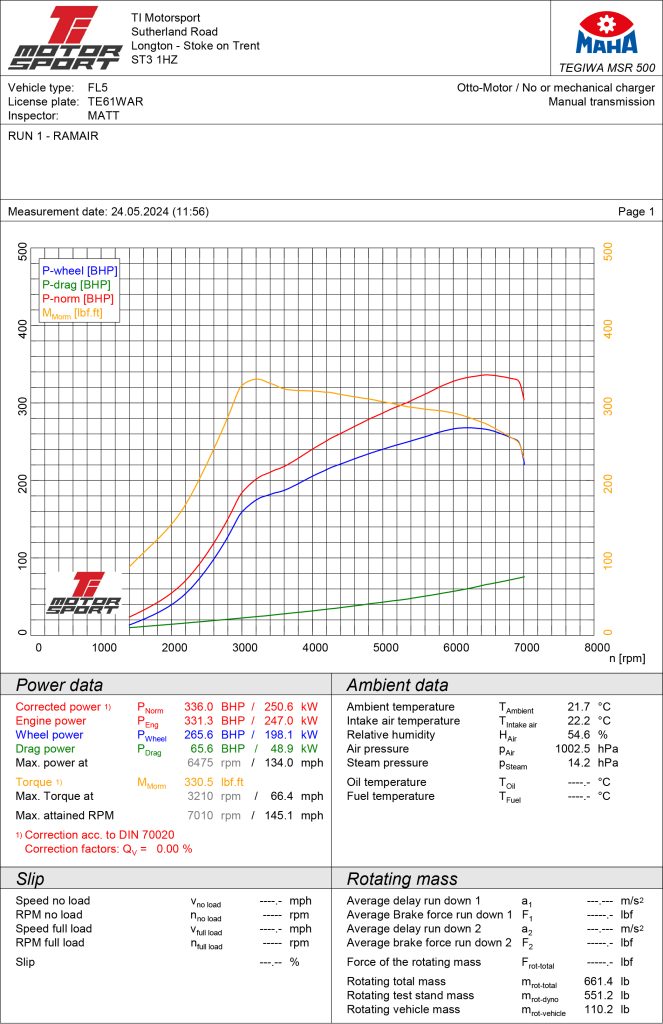
We then moved onto installing our first intake, the Ramair Pro Ram. This was the cheapest option in our test at a very budget friendly price of only £275 (at the time of testing). This is ideal for anybody looking to gain an increase in induction noise over the standard air box if you’re not too bothered about chasing performance.
The kit was really easy to install and was everything you’d expect from an intake at this price point. It performed as expected with a couple of horsepower gains at peak but what’s interesting is that when compared to stock it provides more power throughout the mid-range.
Pipercross
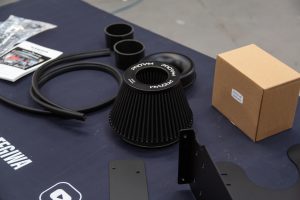
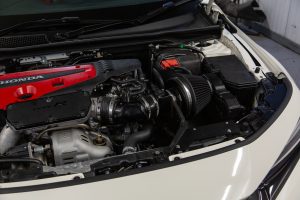
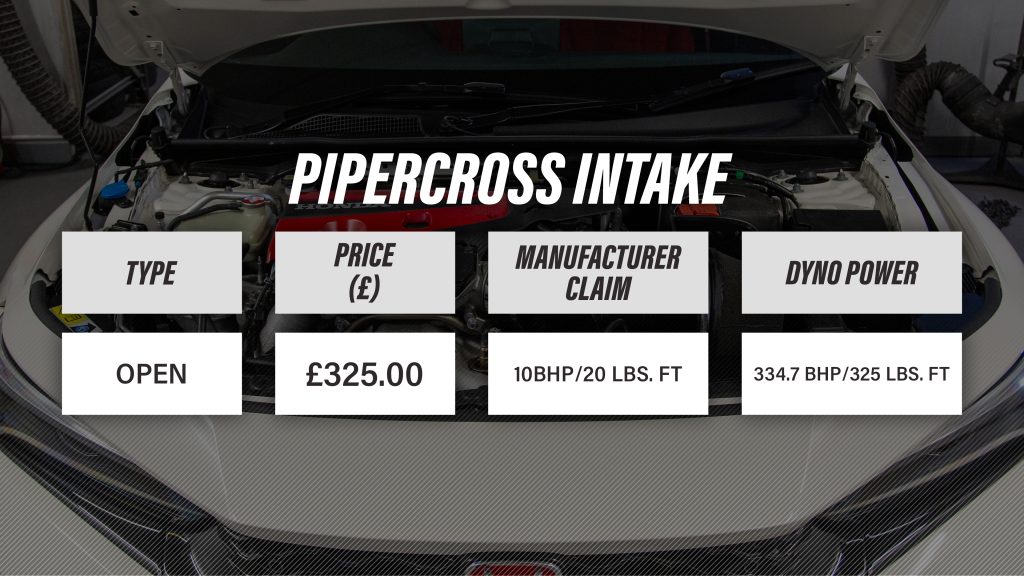
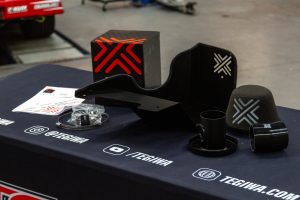
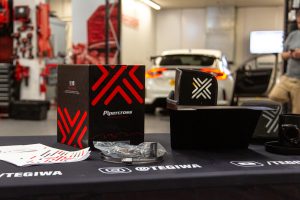
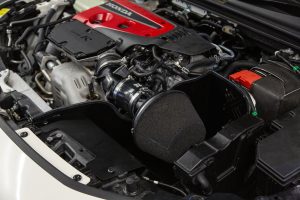
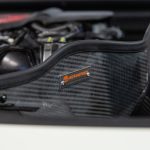
Next up was the Pipercross intake system. This retails at £50 more than the Ramair and features a foam air filter rather than a cotton one. We were particularly impressed with the heat shield which featured the Pipercross logo cut-out.
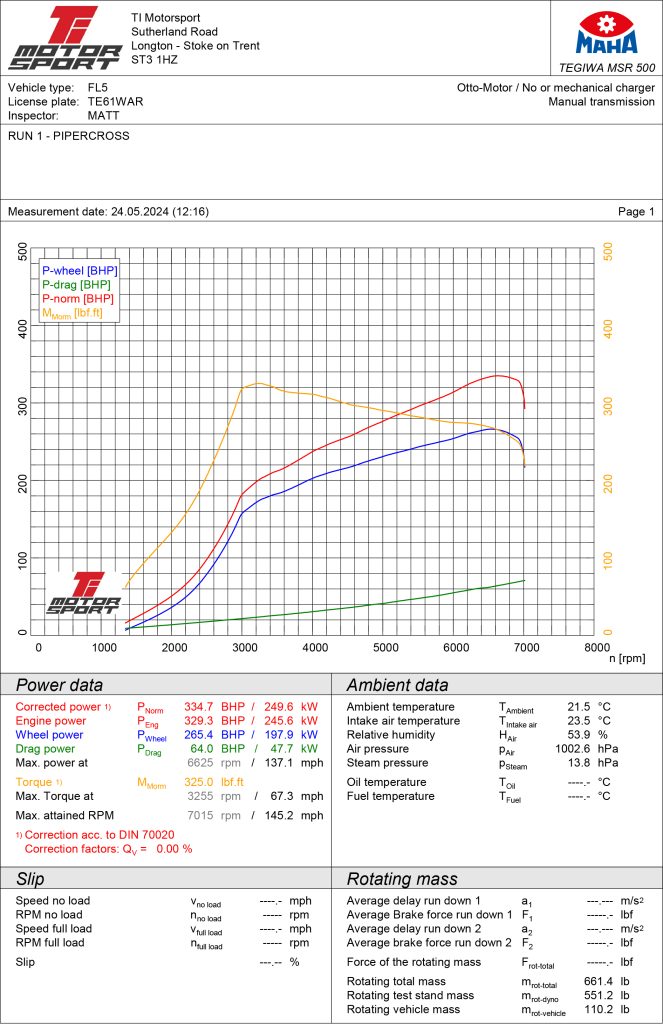
However, this kit didn’t perform as well as the Ramair with just 334.7bhp and 325 lbs. ft torque. This could have been down to the rising intake temperatures though, which open intake systems often suffer with.
We were very keen to try and keep the temperatures the same throughout but with several intakes to test in one day, it was difficult to replicate the conditions for each intake.
PRL Motorsports
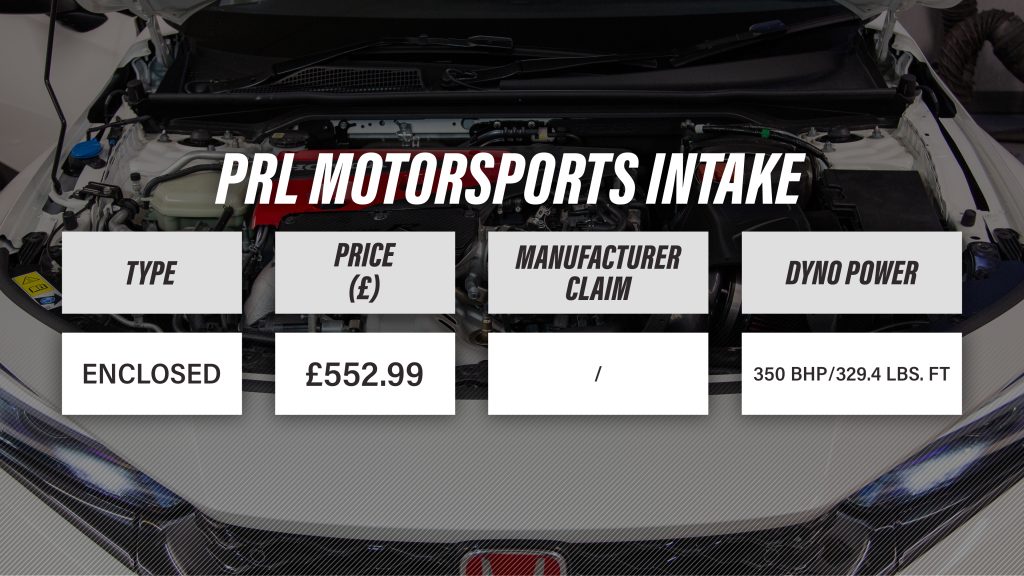
We then moved onto our first enclosed system of the day, the PRL Motorsports High Volume Intake. We were excited to see how this one was going to perform as PRL claimed that this kit increased airflow by 133%. This was also in addition to a secondary air feed which allowed more air into the box.
At just over £500 it was clear to see where the money had been spent, with a nicely manufactured, heavy-duty plastic air box and PRL branded silicone joiners too. It had clearly had a lot of development too as PRL had accrued lots of data from there testing.
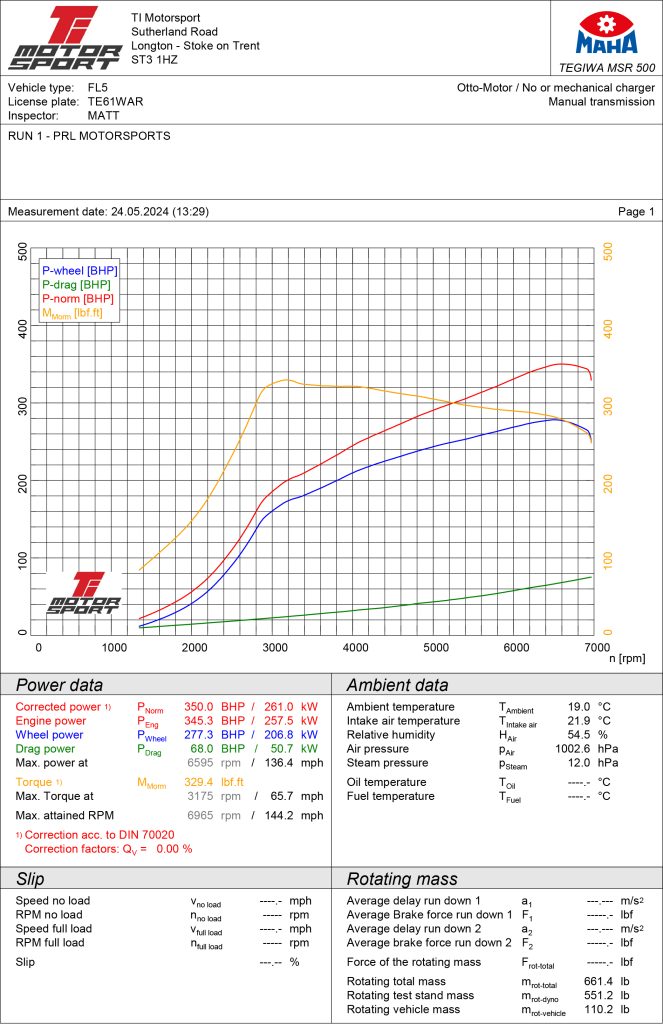
It certainly didn’t disappoint either, making 350bhp and 329.4 lbs. ft torque. As far as value for money goes this was looking like it was going to be the best bang for your buck!
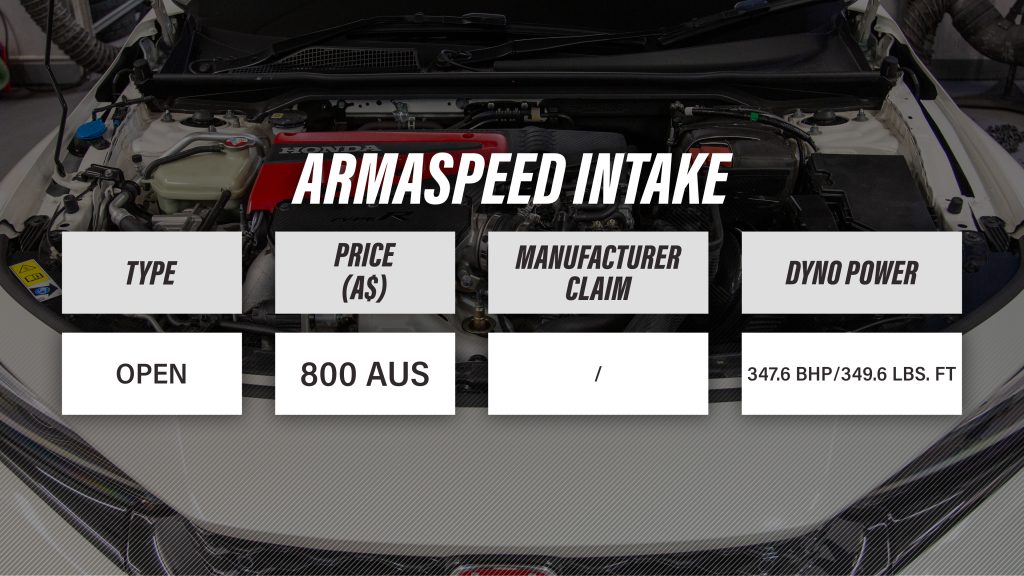
Armaspeed
Armaspeed wasn’t a brand that we were massively familiar with before the FL5 but when we saw their Instagram post saying that they were developing an intake kit, we asked if they wanted to be involved.
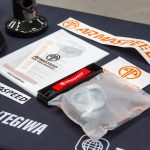
Our first impressions of this kit weren’t the best. The carbon on the heat shield was a lovely gloss finish on the underneath but on the top where you can see the most it looked unfinished, like a raw texture. The fit wasn’t particularly great either, with one of the securing points unable to be fastened. The instructions were very detailed though which is always good and they definitely won the merch game, with a lovely tow hook style key chain included with plenty of stickers too!
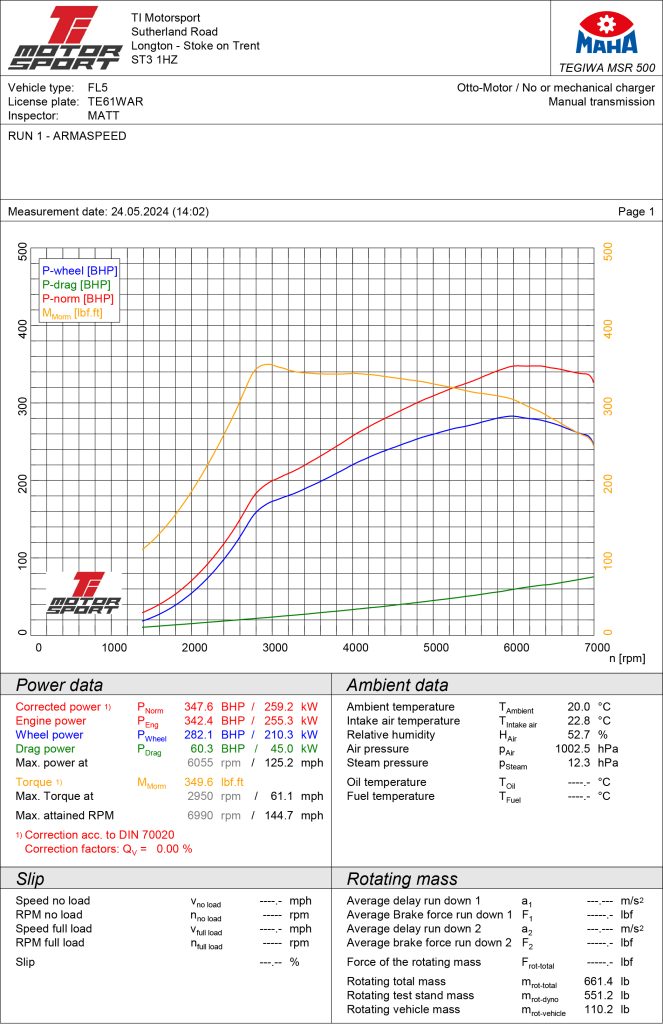
However, the intake performed well on the dyno with 347.6bhp and 349.6 lbs. ft torque. This result meant it was our best performing open cone intake.
Inifinity Design
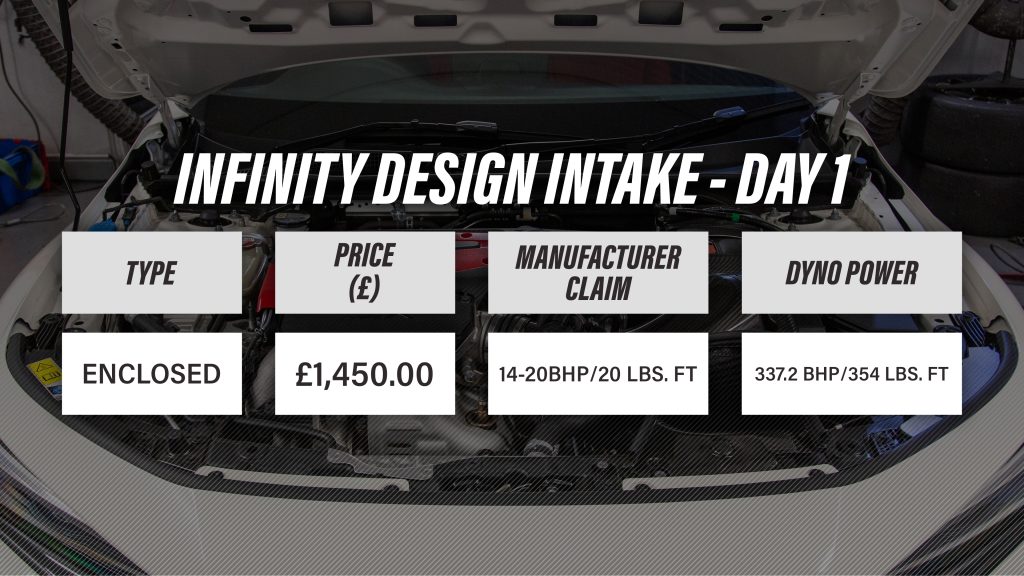
Inifinity Design are a relatively new company that specialise in air intake systems so we were excited to see how they faired against some more well known names. The kit that we had been given to test was a pre-production model with various components not quite ready for production yet.
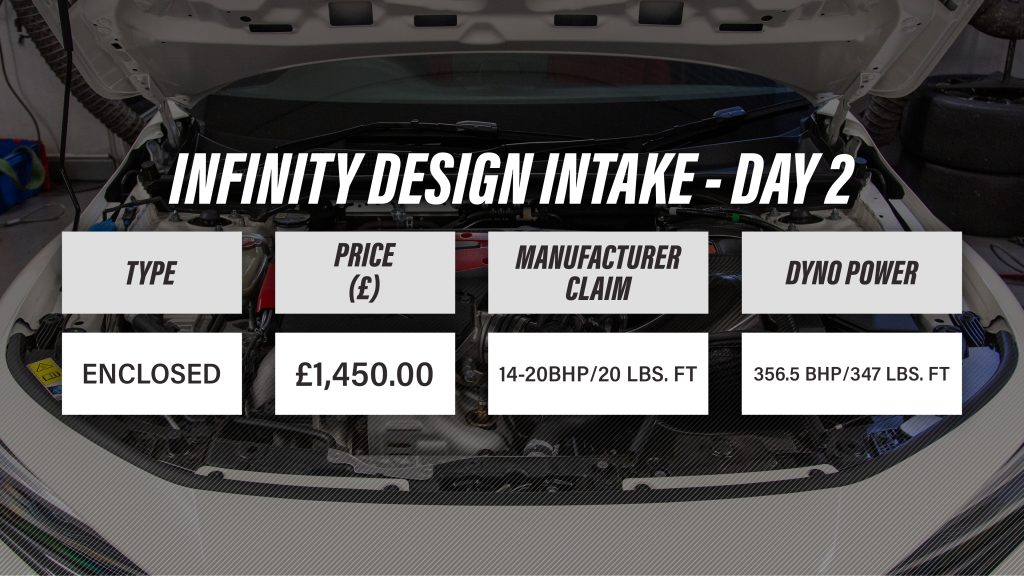
The price gap between this and the other intakes had taken a fair increase with this kit expected to retail at £1,450. They will also be bringing out a carbon inlet turbo tube too which is expected to cost £550.
The carbon finish on this kit looked ace, which is to be expected at this price point. One of the talking points for us was the shape of the filter as it was a hybrid cone style piece, something that we’d not seen before.
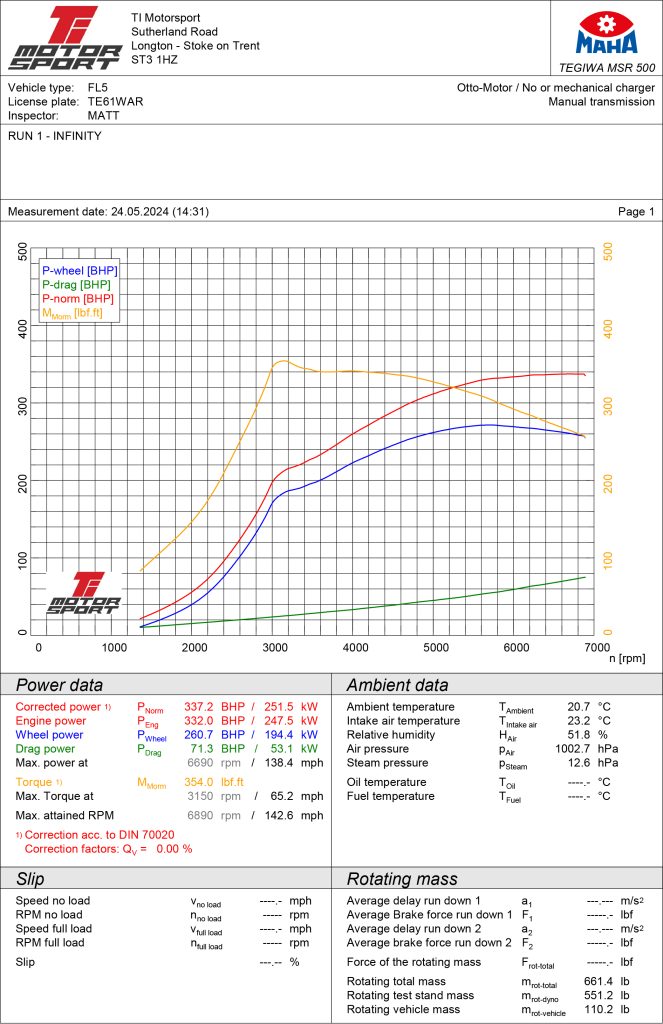
The dyno figures weren’t what we were expecting to see at all, with only a 3 horsepower increase over stock. However, when we were taking the kit off the car, we could see that the 3d printed joiner had failed which could have been why the kit didn’t perform as expected. Again, Infinity Design had rushed the kit out and had kindly supplied a pre-production example as they were eager to be involved. (You can read all about the re-test on day 2 a bit further below!)
We fed the results back to Infinity after testing and they asked us if we could ship the kit back to them for inspection, which we did. They discovered that not only had the joiner failed but the gasket in the MAF housing wasn’t the correct fitment either. The guys were kind enough to rectify the problem very quickly and send it us back for another test with the correct parts that will be going into production.
Eventuri
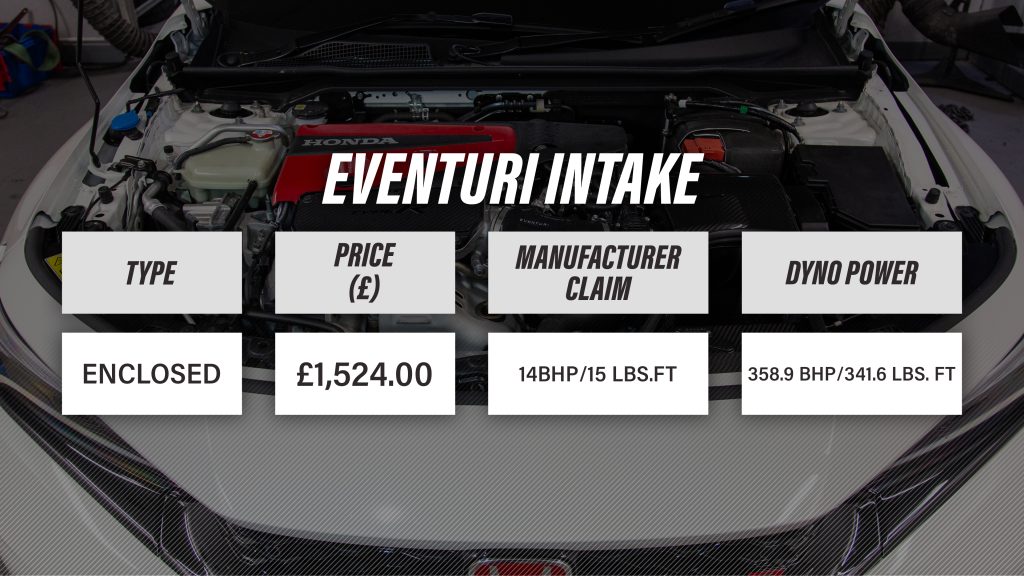
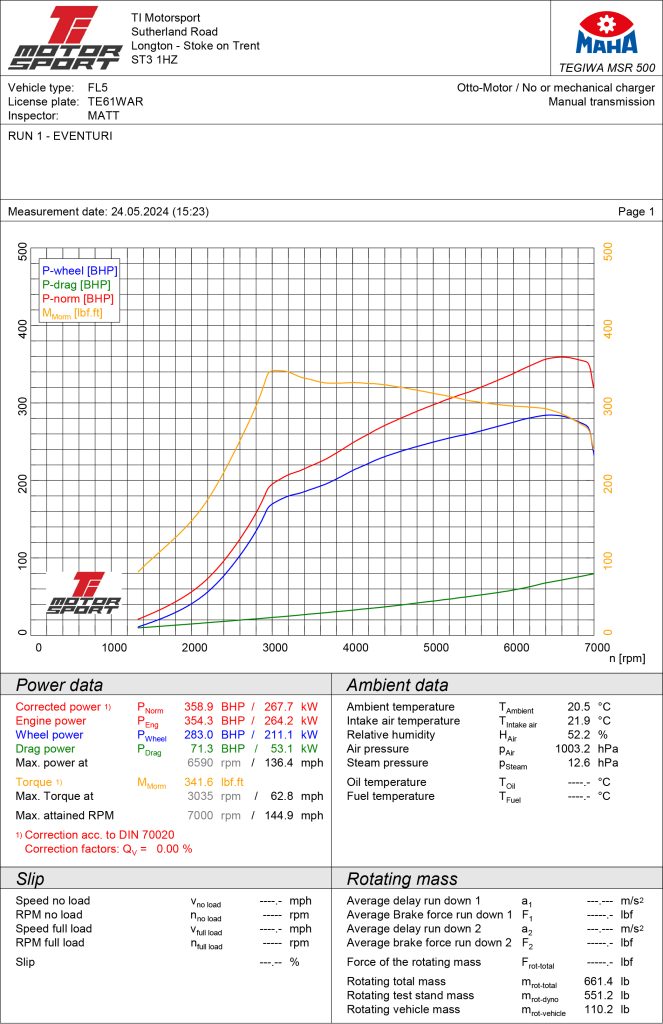
Eventuri are well established when it comes to performance intake kits, with their GR Yaris kit being one of our favourites and best performing too. As soon as we unboxed the FL5 intake, we knew that it was going to be good!
The finish of the carbon was great but we were really surprised to see such a small cone filter (the smallest out of any of the kits). The fit on the car was perfect, with a simple installation following the instructions that can be found online. Eventuri also offer a carbon turbo inlet tube (not something that we’d be testing today), and this retails at £699.60.
The dyno figures speak for themselves too with a peak power figure of 358.9bhp and 341.6 lbs. ft torque.
GruppeM
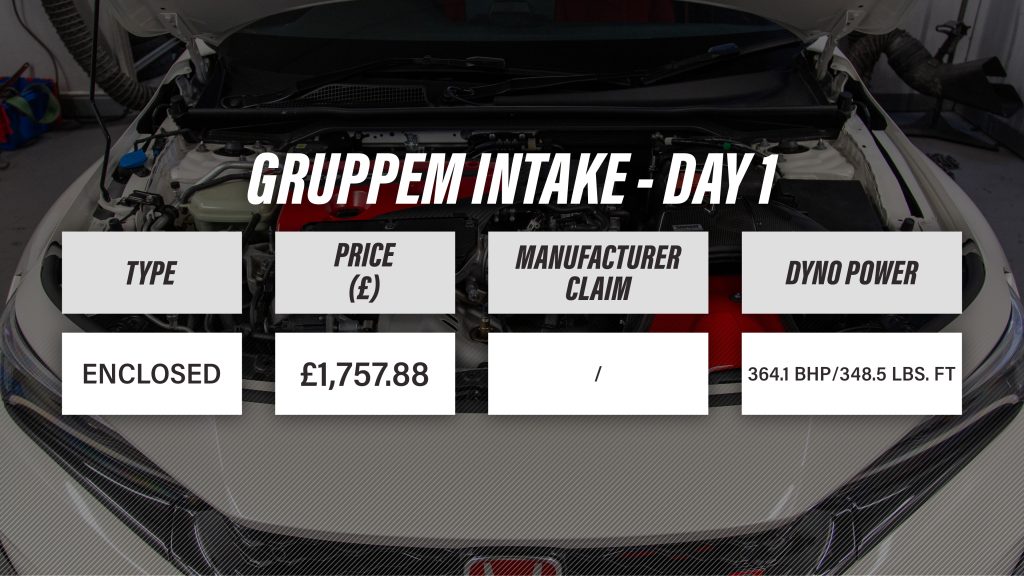
The GruppeM intake is the most expensive intake that we’d be testing today but it is in fact the only Japanese intake that we’ll be testing too. This can be quite a big thing for JDM enthusiasts!
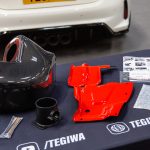
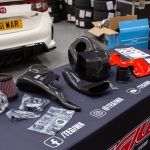
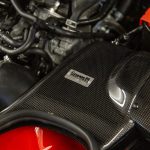
Now the carbon finish on this intake was stunning with a plain 1×1 style weave. After unboxing it we set about fitting it to the car, and it was apparent how many components there were. This was a surprise considering all the other kits were pretty much assembled already but the level of installation was quite intense. We had to apply things like liquid gaskets and several brackets before we could even get it into a state where it could be fitted to the car.
After much tinkering, we’d got it fitted nicely into the FL5 engine bay. The fit was perfect and it looked awesome too. There had clearly been a lot of development with this kit from the guys at GruppeM, leaving no unused space at all.
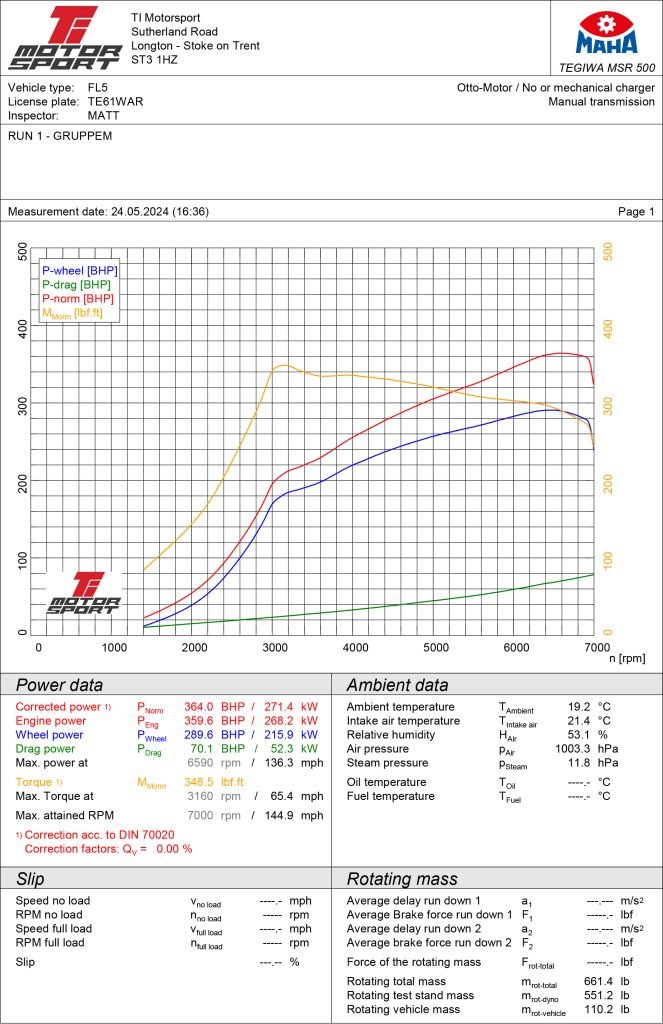
The figures were amazing too, with peak power of 364.1bhp and 348.5 lbs. ft torque! It is worth noting that we gave all intakes 3 power runs and on the second run it made 349.9bhp.
Day 2 – GruppeM vs Infinity Design
With Infinity Design being kind enough to resolve the issues with their kit super quickly, we thought that it was only right to give it another chance. Our plan was to take the best performing kit on the first day, the GruppeM, and use this to get a benchmark figure.
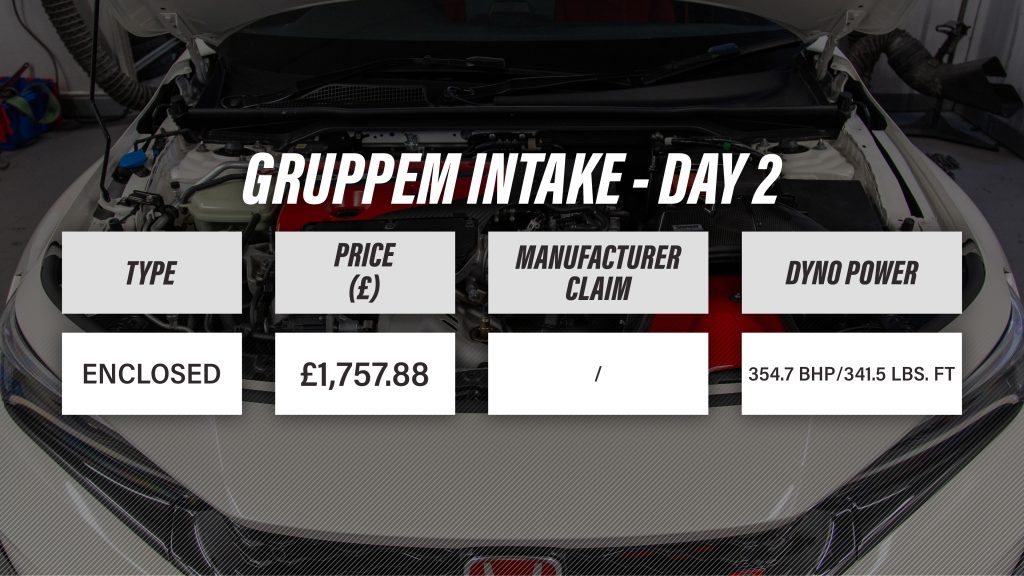
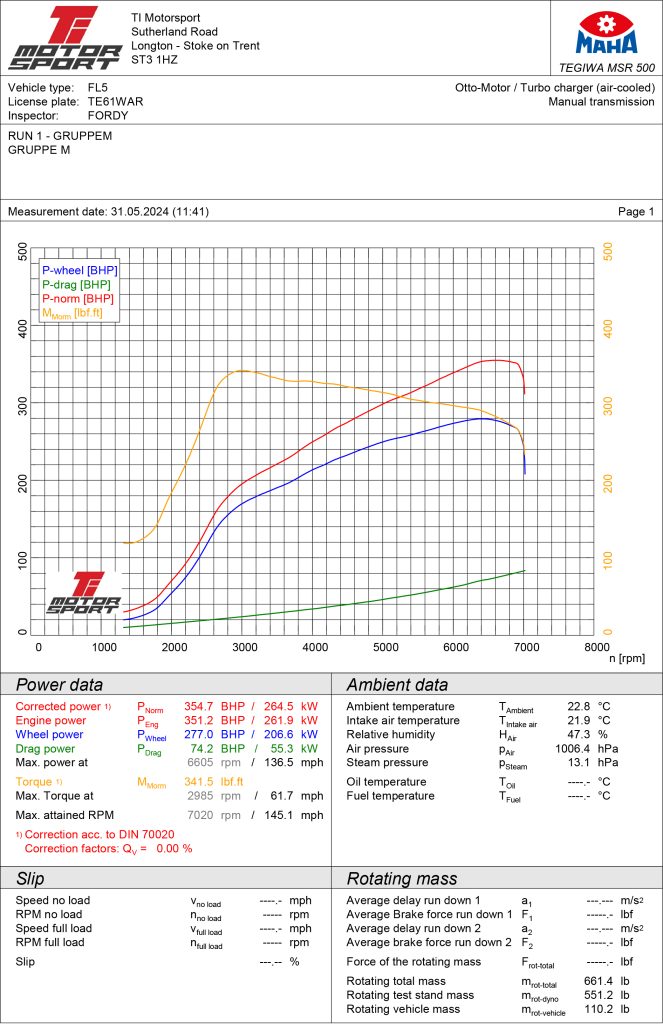
We dyno’d the car with the GruppeM intake installed and it made 354.7bhp with 341.5 lbs. ft torque. Another impressive result for the GruppeM!
We then removed the GruppeM and installed the Infinity Design intake. This time we had the correct joiner that will be used in the final production of the kit as well as the correct gasket fitted inside the MAF housing. We also noticed that we hadn’t installed the rubber trim from the OEM airbox onto the top of the intake on day 1, but this probably wouldn’t have made a huge difference.
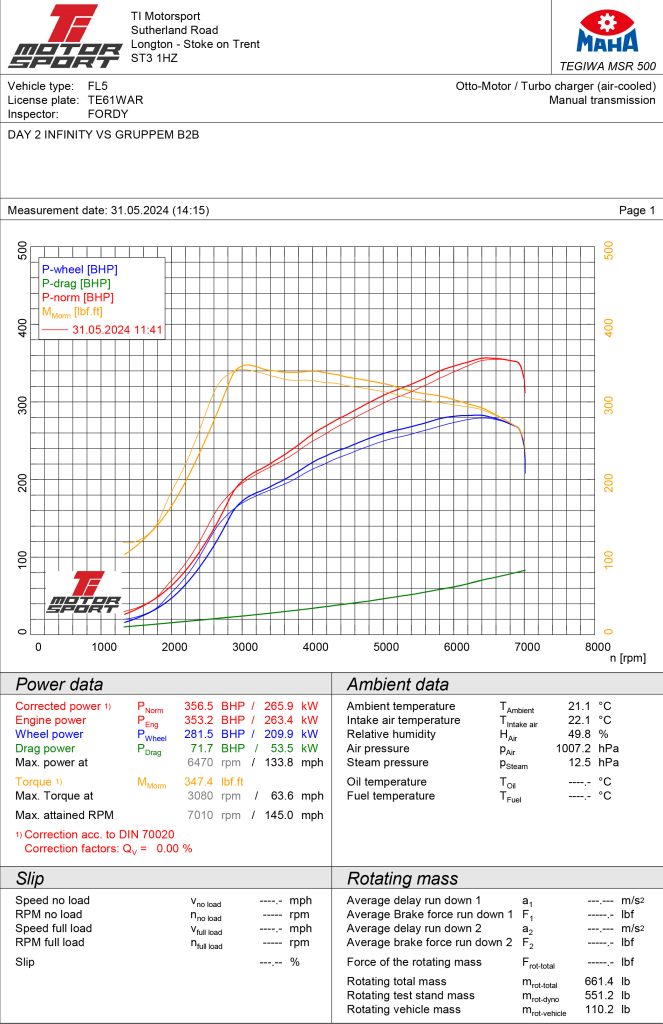
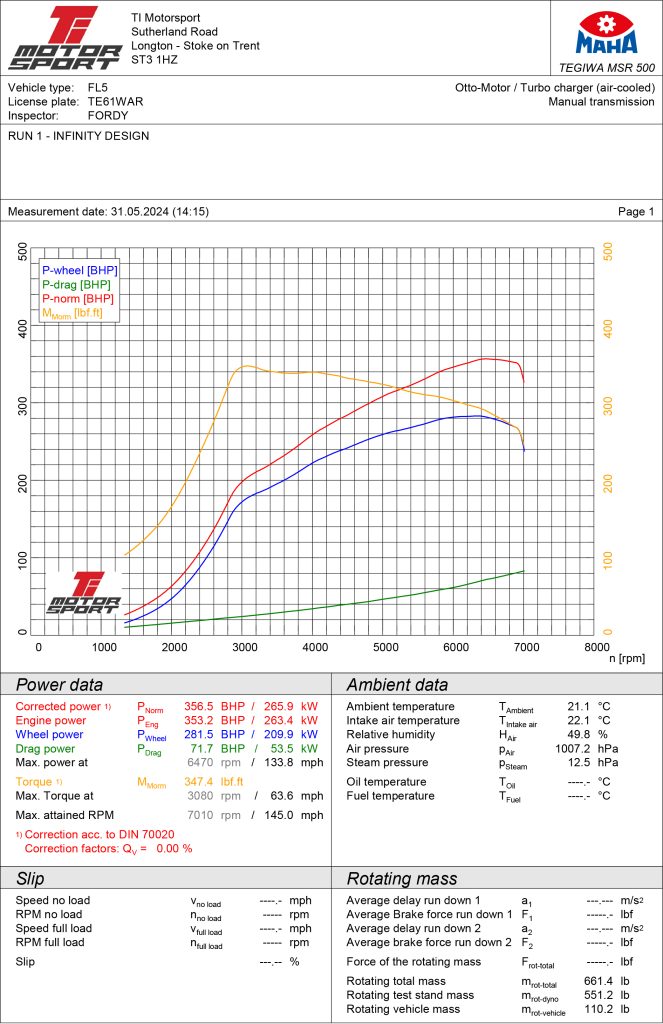 The dyno results were very impressive, not just because it had made more peak power than the GruppeM and 5.5 lbs.ft more torque, but because when we overlaid the dyno run graphs (see below), the Infinity Design intake was 10 horsepower up all the way through the mid-range. This is the part of the power band which you’ll spend the most time in and will feel the most noticeable.
Conclusion
First and foremost, it’s important to remember that these figures from the dyno aren’t the be all and end all and they should be taken with a pinch of salt. We saw lots of variations from run to run, which is very common on the K20C engine. We have only used the figures from the best runs.
There is definitely an intake for everybody here though which is great that they all have their own place respectively. A lot of it will come down to budget too with the price points being massively different between the cheapest intake and the most expensive. However, if you’re looking for an intake just to give a more noticeable intake sound, then the budget options represent really good value for money.
- K&N drop-in panel filter: https://www.tegiwa.com/products/k-n-performance-panel-air-filter-honda-civic-type-r-fl5-23
- Ramair Pro Ram filter: https://www.tegiwa.com/products/ramair-proram-induction-kit-honda-civic-type-r-fl5-22
- Pipercross: https://www.tegiwa.com/products/pipercross-induction-system-honda-civic-type-r-fl5-23
- PRL Motorsports: https://www.tegiwa.com/products/prl-motorsports-high-volume-intake-system-honda-civic-type-r-fl5-22
- Infinity Design: https://www.tegiwa.com/products/infinity-design-carbon-intake-system-honda-civic-type-r-fl5-23
- Eventuri: https://www.tegiwa.com/products/eventuri-carbon-fibre-intake-system-honda-civic-type-r-fl5-23
- GruppeM: https://www.tegiwa.com/products/gruppem-ram-air-intake-system-honda-civic-type-r-fl5-22
Finally, you can watch the whole test on our YouTube channel. You can find all the intakes from this test and many more performance parts for you Civic FL5 over on our website too.
