Website no longer active. Please use our new website Tegiwa.com
Details
Application:
- All K24 Engines
Note:
*When installing that the adapter gets mounted directly to the head (Do Not Install A Gasket Between The Head and The Adapter)
The K24 Intake Manifold Adapter is a simple and easy way to install K20 style manifold on K24 heads. The recirculation fitting on K24s is typically part of the intake manifold which isn’t on K20 intake manifolds. We have designed the adapter to work with all K24 heads including the K24Z-Series (R40) heads. This can also be used to install K20 manifolds or cut RBC manifolds on 9th gen Civic si as the water bypass is slightly different and you will not need an intake manifold adapter when using the adapter. The adapter lowers intake air temps as coolant is no longer connected the intake manifold. Hondata has shown that intake air density will drop 1% for every 5°F increase in intake temperature. This is wasted power that can easily be gained back by using the adapter. The adapter also features a 1/8 NPT port for a coolant temp sensor commonly used in swap cars.
The Intake Manifold Adapter can be installed either using our spring loaded tab or by tapping the head. We use Honda Bond or similar gasket maker as it provides a strong seal and when using the spring loaded tab when the adapter isn’t under pressure there will be no chance of leak. The spring loaded tab holds the adapter down with constant spring pressure to ensure a tight fit and seal. The other option is using the provided blind hole you can easily tap the head for the second hole. Tapping the head will require a 6.5mm drill bit (to finish the blind hole in the adapter), 5mm drill bit (to drill the head), and M6x1.0 Tap.
Quick Instructions:
Required Tools
Drill
1/4 or 6.5mm drill bit
13/64 or 5mm drill bit
M6x1.0 tap (Standard and bottoming)
Begin by using the 6.5mm or ¼ drill bit to finish the blind hole in the adapter. You then want to install the manifold and adapter on the head. This will ensure you are properly positioning the hole. Once you have marked where you want to drill remove the manifold and adapter. Place tape or plug the holes on the head for intake and coolant to prevent anything from getting inside. You will use a 5mm or 13/64 drill bit to drill the head to a depth of at least 11mm (the depth of the bolt) but shouldn’t need more than 14mm. You can apply tape on the drill bit to ensure not to drill too deep. Once you drill the hole you will run your tap. Use a M6x1.0 tap and lube and do it slowly. Be careful not to tap too deep. You can start the thread with a standard tap but you should finish it using a bottoming tap. This will allow the bolt to use most of the tapped hole. Slowly start to tap the head and check fitment of your adapter often. You want the adapter to hold snug but not tap the hole to far.
More Info
| Manufacturer | K-Tuned |
|---|---|
| Fitment | No |
| Colour | No |
| Note | No |
- Be the first to review this product
You may also be interested in
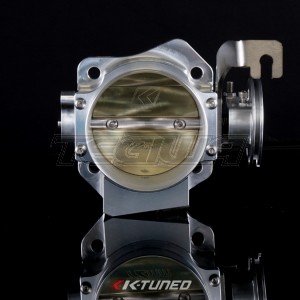
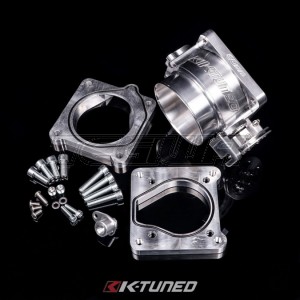
K-Tuned 72mm Throttle Body with K-Series IACV and Map Ports
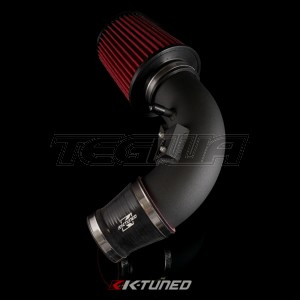
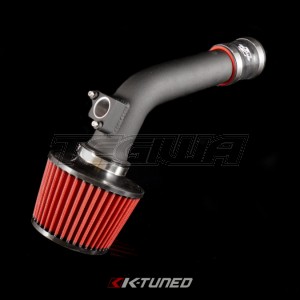
£373.70 Excl. Tax £448.44 Incl. TaxK-Tuned 1.5Turbo Short Ram Intake - 3in Civic 10th Gen Si Only
£263.37 Excl. Tax £316.04 Incl. TaxK-Tuned 80mm K-Series Throttle Body - K-Series with RBC Adapters
£452.80 Excl. Tax £543.36 Incl. Tax


